Are you bored spending hours creating and publishing videos? Well, most of the young YouTubers have these concerns, some live up to this challenge and some try to get some workaround to mitigate this challenge.
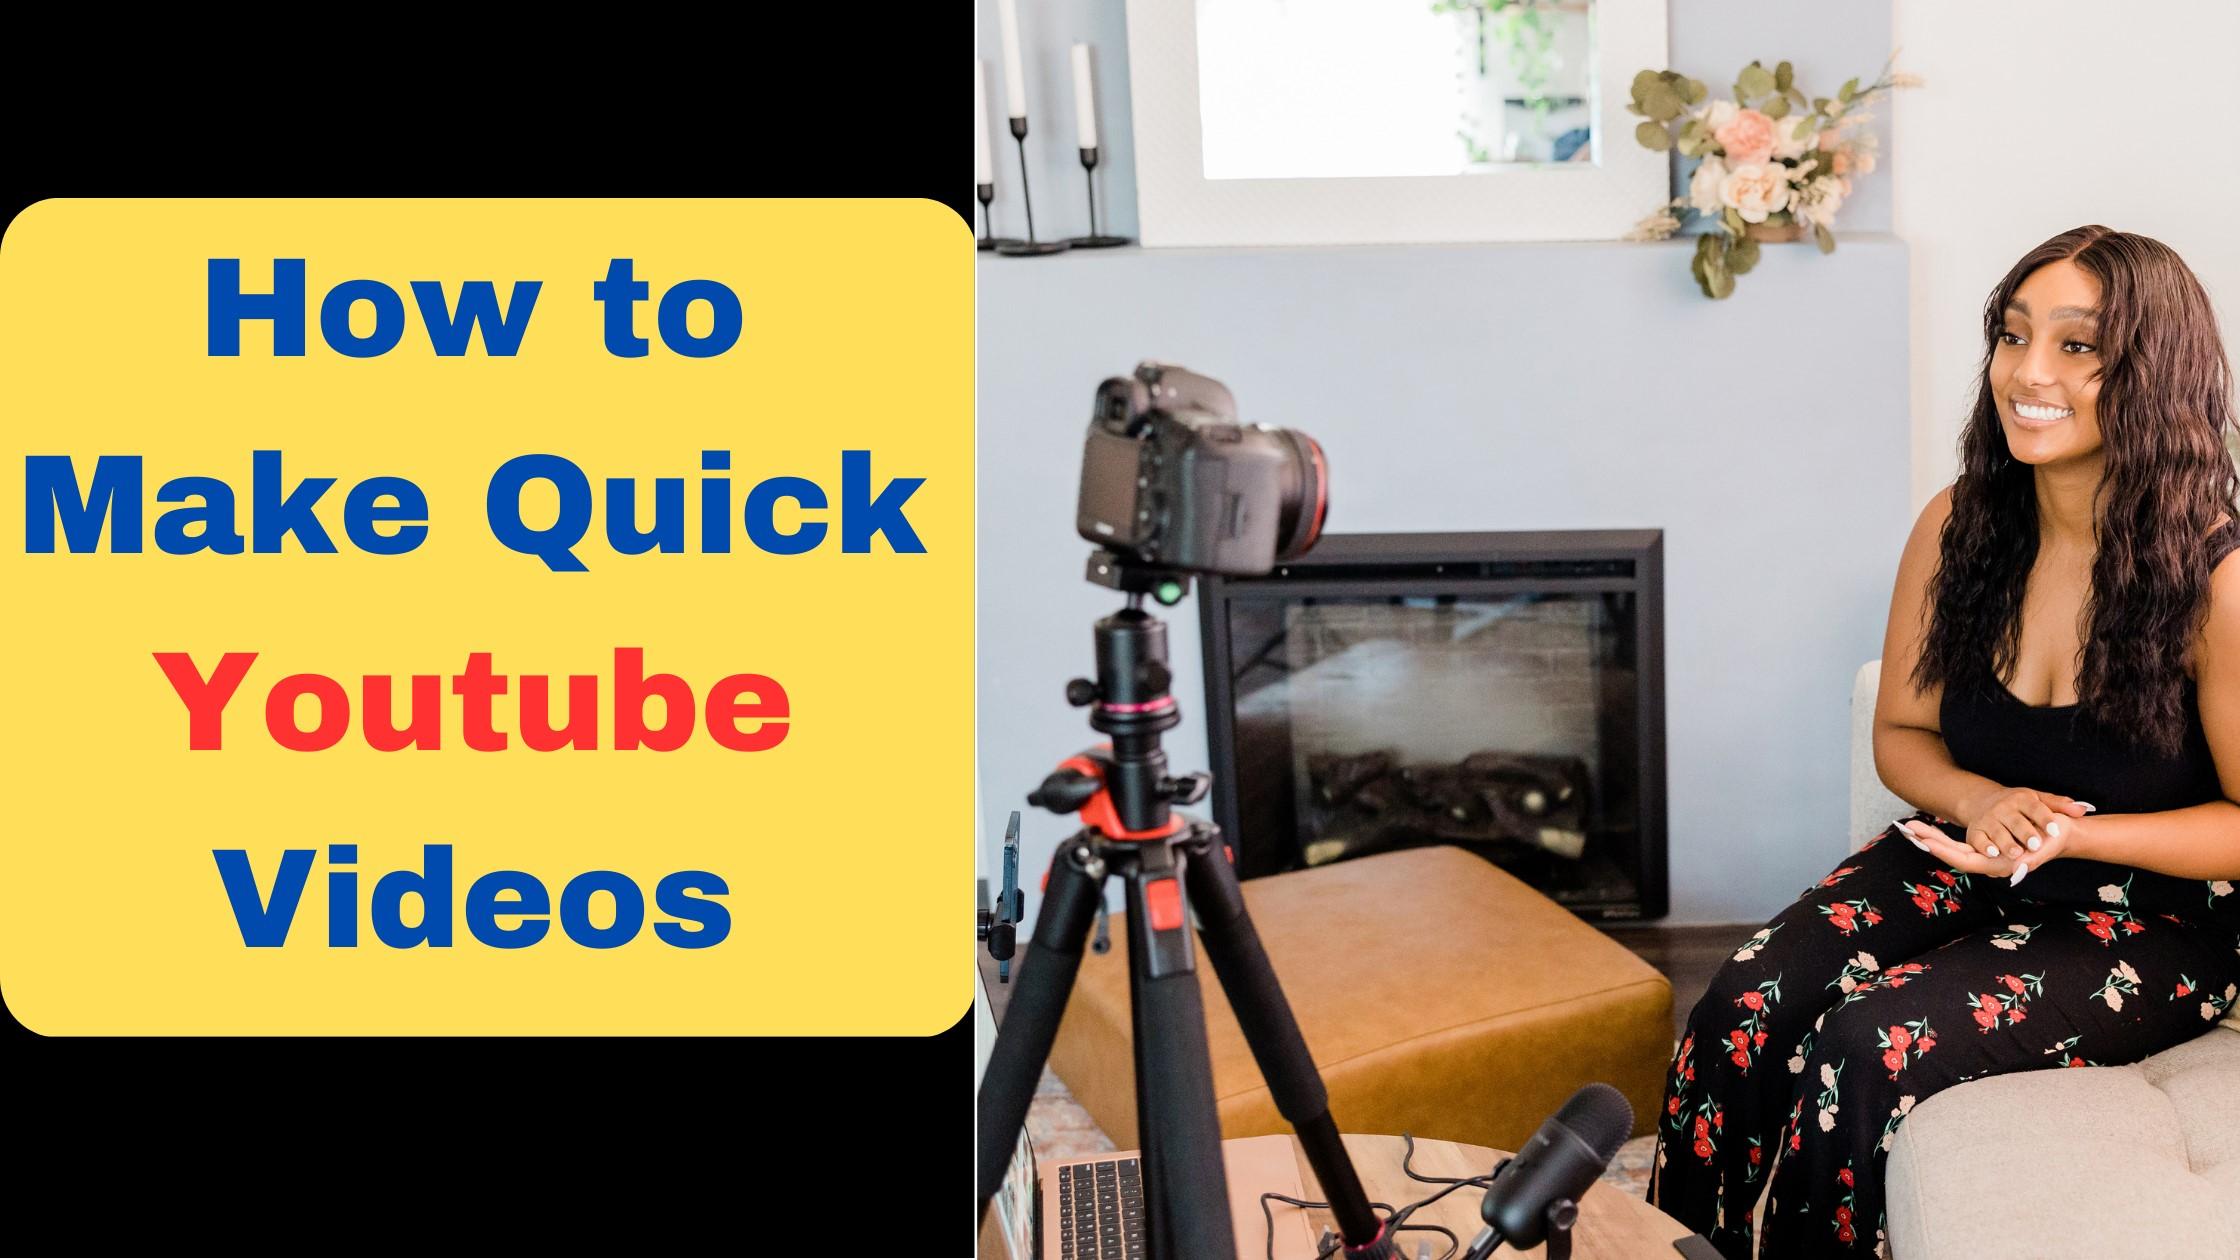
The quickest way to make a YouTube video is to use a smartphone or a camera with video recording capabilities to capture footage, and then edit it using a simple editing software.
Before you start making videos, follow the below basic steps.
Steps in Creating Youtube Video
1. Plan your video: Decide on the topic, the message you want to convey, and the audience you want to reach. Write down a brief script or outline to guide your recording and editing.
2. Record your footage: Use your smartphone or camera to capture video footage. Keep it simple by recording yourself talking or doing something related to your topic.
3. Edit your video: Use a simple editing software like iMovie, Windows Movie Maker, or Adobe Premiere Rush to trim the footage, add music, and text. Keep the editing minimal and focus on the content and message.
4. Export and upload: Once you’re done editing, export the video in the recommended YouTube format (usually MP4). Then upload it to your YouTube channel with a title, description, and relevant tags.
5. The last part is to promote your Youtube video in social medial platform or any platform where you can get traffic on your video, this will help in getting views and subscribers.
(Just to remind you, to monetize your Youtube channel, you will require at least 4000 watch hours and at least 1000 subscribers).

Remember, the quality of your video doesn’t have to be perfect, especially if you’re just starting out. The most important thing is to create content that resonates with your audience and delivers value. As you gain more experience and resources, you can invest in better equipment and software to enhance the quality of your videos.
Also, you should be consistent in creating and uploading videos. Try to upload videos daily, please avoid uploading videos once in a week or once in a month.
Now, let us check out some free tools through which you can make awesome Youtube videos.
There are several free tools available to make YouTube videos. Here are some of them:
Free Tools to Create Youtube Video
1. OpenShot: This is a free and open-source video editor that offers a range of features to create professional-looking videos. It supports a variety of video and audio formats, as well as transitions, effects, and animations.
2. iMovie: This is a free video editor available for Mac users. It offers a user-friendly interface and a range of basic editing tools, such as trimming, splitting, and adding text and music.
3. Windows Movie Maker: This is a free video editor available for Windows users. It offers basic editing tools and features, such as adding transitions, effects, and titles.
4. Canva: This is a free graphic design tool that can also be used to create simple videos. It offers a range of templates, graphics, and text options that can be combined to create engaging videos.
5. YouTube Studio: This is a free tool offered by YouTube that allows creators to edit videos, add titles, descriptions, and tags, and upload them directly to their YouTube channel.
6. OBS Studio: This is a free and open-source software that allows users to record and stream videos. It offers a range of features, such as scene switching, video and audio filters, and audio mixing.
Paid Video Creator Tools
Above all are free tools, if you want to start with some professional tools, please go with the below-paid tools which will cost you few dollars.
1. Adobe Premiere Pro: Adobe Premiere Pro is a video editing software that allows users to create and edit high-quality videos. It is widely used by professional videographers and video editors and offers a wide range of features, including color correction, audio editing, and special effects.
2. Final Cut Pro: Final Cut Pro is a video editing software developed by Apple. It is a popular tool for professional video editors and filmmakers and offers features such as 360-degree video editing, advanced color grading, and multi-camera editing.
3. Camtasia: Camtasia is a screen recording and video editing software that allows users to create tutorial videos, software demos, and other types of videos. It offers features such as screen recording, video editing, and animation.
4. Filmora: Filmora is a video editing software that is designed for beginners and offers a wide range of features such as color grading, audio editing, and special effects. It is a popular tool for creating YouTube videos due to its ease of use and affordability.
5. DaVinci Resolve: DaVinci Resolve is a professional video editing software that is widely used in the film and television industry. It offers features such as color correction, audio editing, and visual effects and is known for its high-quality output.
These are just a few examples of the many paid tools available for creating YouTube videos. It’s important to choose a tool that fits your budget and skill level while also providing the features you need to create high-quality videos.
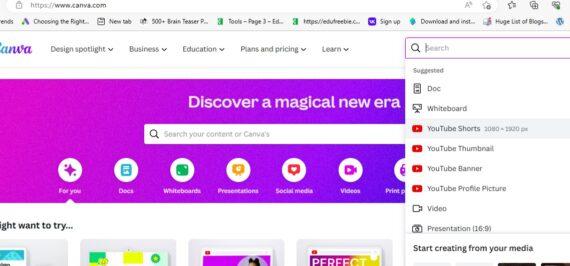
Now coming back to our topic, how to make a quick youtube video in just 5-10 minutes, let us start with a free tool Canva. Below are simple steps which one needs to follow if they want to make a quick youtube shorts video.
1. Sign up or log in to Canva and select “Create a design.”
2. Choose “Custom dimensions” and set the width to 1080 pixels and the height to 1920 pixels (the recommended size for YouTube shorts).
3. Select a template or create your own design using Canva’s tools and resources.
4. Add text and graphics to your design that relate to the theme of inspiration. You can add free images and videos from pexels or pixabay.
5. Use Canva’s animation features to create movement and visual interest in your design.
6. Export your design as an MP4 file.
7. Upload your video to YouTube Shorts and add any relevant hashtags and descriptions.
8. Share your video on social media and engage with viewers who comment or like your content.
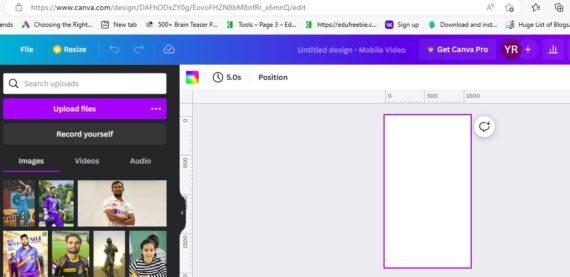
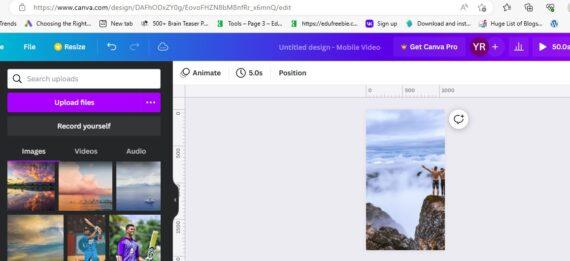
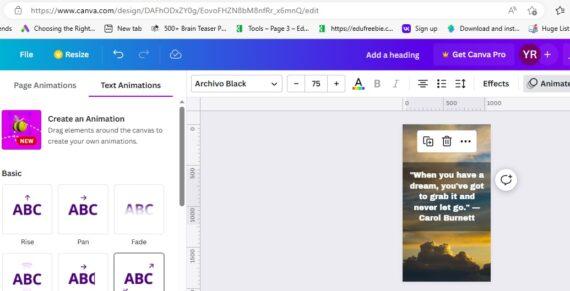
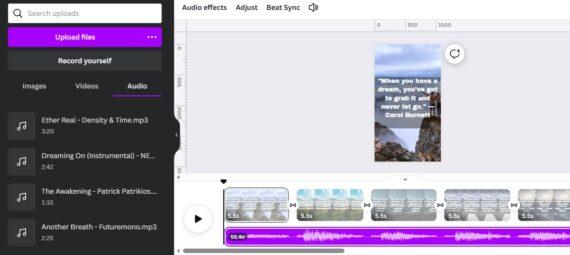
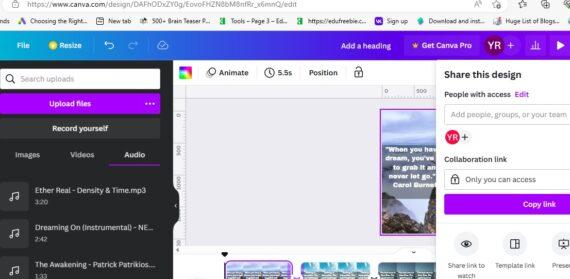
Remember to keep your video short and engaging to capture viewers’ attention and inspire them in just a few seconds. Use bright colors, bold fonts, and eye-catching graphics to make your video stand out.
That’s why I always recommend to go for Youtube shorts, the best part is you can use these same videos to upload in Instagram.
Advantages of Canva
1. User-friendly interface: Canva’s drag-and-drop interface makes it easy for even beginners to create professional-looking designs.
2. Wide range of templates: Canva offers a vast collection of templates for various design projects, including social media graphics, presentations, posters, business cards, and more.
3. Customizable designs: Canva allows users to customize designs to fit their specific needs by adjusting colors, fonts, images, and other design elements.
4. Collaboration: Canva allows multiple users to work on a design project simultaneously, making it an excellent tool for team projects.
5. Stock images and graphics: Canva provides a vast library of stock images, graphics, and illustrations that users can use to enhance their designs.
6. Cost-effective: Canva offers both free and paid subscription options, making it an affordable option for individuals and businesses of all sizes.
7. Mobile app: Canva has a mobile app that allows users to create and edit designs on-the-go, making it a convenient tool for busy professionals.
Overall, Canva is an excellent tool for creating stunning designs quickly and easily, making it a popular choice for individuals and businesses alike.
Gadgets Used to Create Youtube Videos
There are a variety of gadgets and tools that can be used to create YouTube videos, depending on the type of content you want to produce. Here are some common examples:
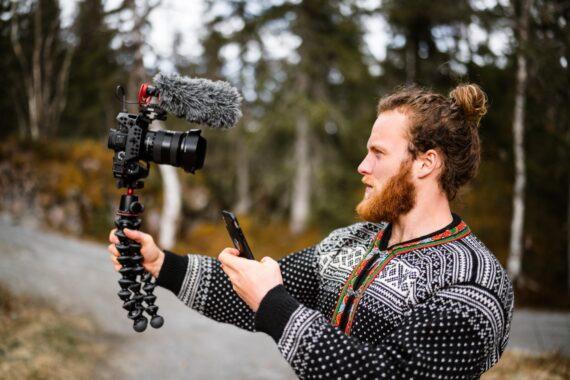
Camera: A good quality camera is essential for shooting high-quality videos. Some popular options include DSLR cameras, mirrorless cameras, or even a smartphone with a good camera.
Microphone: Good audio is just as important as good video quality. A dedicated microphone, such as a shotgun mic or lapel mic, can help capture clear and crisp sound.
Tripod: A tripod is useful for keeping your camera steady and in place while shooting videos. This can help prevent shaky footage and ensure a professional-looking result.
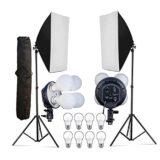
Lighting: Proper lighting can make a big difference in the quality of your videos. You can use natural light or invest in a lighting kit with softbox lights, ring lights, or other types of studio lighting.
Editing Software: Once you’ve shot your video, you’ll need to edit it before uploading it to YouTube. There are many video editing software options available, such as Adobe Premiere Pro, Final Cut Pro, or iMovie for Mac users.
Green screen: A green screen allows you to superimpose different backgrounds or scenes behind you, making it useful for creating engaging and visually interesting videos.
Drone: For those creating outdoor or travel-related content, a drone can be a great tool for capturing stunning aerial footage.
These are just a few examples of gadgets and tools that can be used to create YouTube videos. The specific equipment you need will depend on the type of content you want to produce and your budget.
Do check out my other blogs on Online Earning and Passive Income.

